React - Set Up Your Development Environment
React is one of the most popular JavaScript libraries for building dynamic and modern user interfaces. However, before you start coding with React, you need to set up a development environment.
A good setup ensures:
You can write clean, efficient code with the help of a powerful code editor.
All necessary tools like Node.js and npm are installed to manage and run React applications.
You can quickly start new projects without complex manual configurations.
In this tutorial, we’ll walk through:
- Installing Visual Studio Code (VS Code) – the most popular editor for React developers.
- Installing Node.js and npm.
- Verifying the installation.
- Creating your first React application using Create React App.
- Running and exploring the project structure.
- Making your first code change.
By the end, you’ll have a fully functional React development environment and a working app.
1. Tools You’ll Need
Before we begin, here’s an overview of the essential tools for React development:
Tool Why You Need It
VS Code – A lightweight but powerful editor that supports JavaScript and React features.
Node.js Lets you run JavaScript outside the browser and is required for React apps.
npm (Node Package Manager) Installs React and other libraries needed for your project.
2. Installing Visual Studio Code (VS Code)
VS Code is free, easy to use, and packed with features like debugging, extensions, and Git integration — making it perfect for React development.
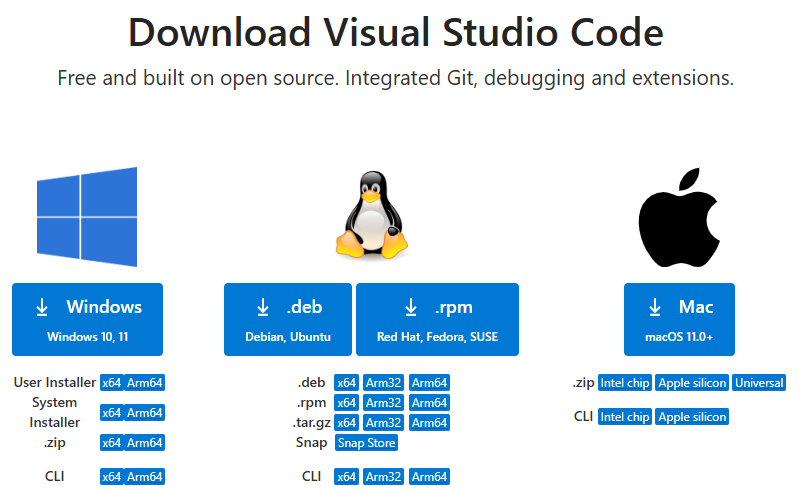
Step 1: Download VS Code
Go to the official website: https://code.visualstudio.com/
You’ll see the download options for different operating systems:
- Windows
- macOS
- Linux
Choose the version for your system and download it.
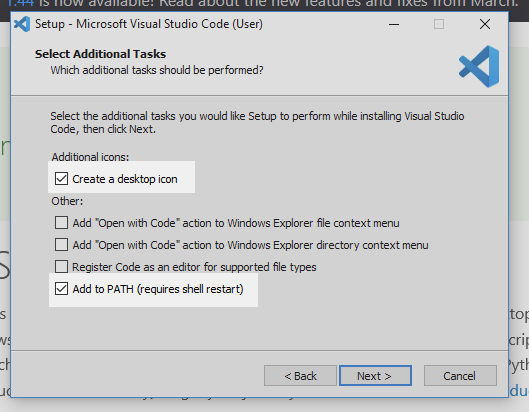
Step 2: Install VS Code
Run the downloaded installer file.
Go through the installation steps:
Accept the license agreement.
Choose the installation location (default location is fine).
Important: Check the option “Add to PATH” — this allows you to open VS Code from the terminal.
Optionally, select “Create a desktop icon” for easy access.
Click Install and wait for the setup to finish.
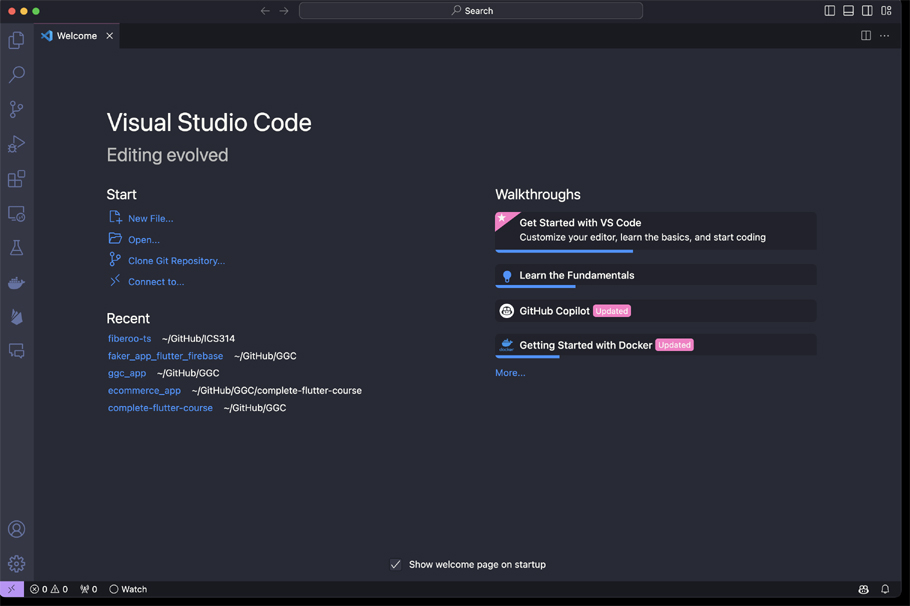
Step 3: Launch VS Code
Once installed, open VS Code.
You’ll see the welcome screen, which allows you to:
- Open a new project folder.
- Install extensions.
- Customize settings like themes and layout.
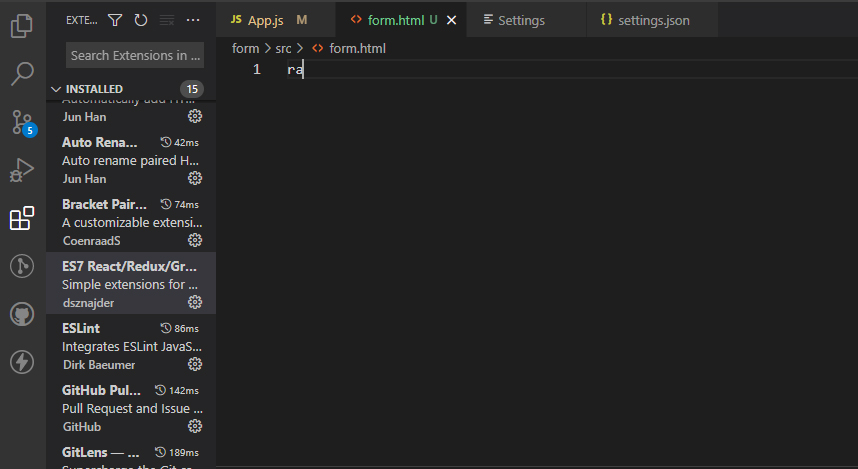
Step 4: Install Essential Extensions
Extensions add extra functionality to VS Code. Here are a few must-have extensions for React:
Extension Name Why It’s Useful
ES7+ React/Redux/React-Native Snippets Quickly generate React component templates and common snippets.
Prettier – Code Formatter Automatically formats your code for readability.
React Developer Tools Helps with debugging React components.
Auto Import Automatically imports components and files when needed.
How to install:
Go to the Extensions panel (Ctrl + Shift + X).
Search for the extension name.
Click Install.
3. Installing Node.js and npm
React requires Node.js and npm to run because it uses Node’s ecosystem for building, running, and managing projects.
Step 1: Download Node.js
Go to https://nodejs.org/
Download the installer file.
Step 2: Install Node.js
Run the downloaded installer file.
Go through the installation steps:
Accept the license agreement.
Choose the installation location (default is fine).
Ensure “Add to PATH” is checked.
Click Install.
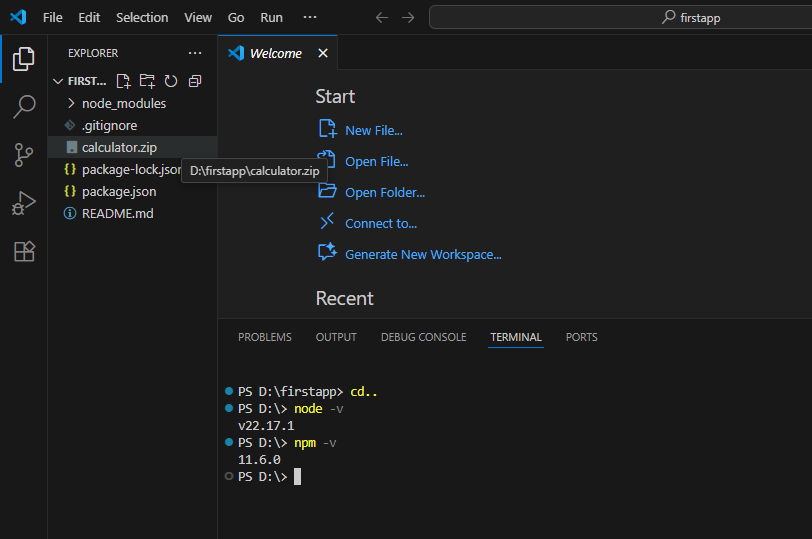
Step 3: Verify the Installation
After installation:
Open VS Code.
Open the terminal:
Shortcut: `Ctrl + “ (backtick)
Or go to Terminal → New Terminal
Type the following commands:
Check Node.js version
node -v
Example output:
v22.17.1
Check npm version
npm -v
Example output:
10.9.0
If both commands display version numbers, you’re ready to proceed.
Troubleshooting: npm.ps1 Error
If you see this error:
npm : File C:\Program Files\nodejs\npm.ps1 cannot be loaded because running scripts is disabled…
Solution:
Open PowerShell as Administrator.
Run this command:
Set-ExecutionPolicy RemoteSigned -Scope CurrentUser
Press Y when prompted.
Restart VS Code and try again.
4. Create Your First React Application
Now that your tools are ready, let’s create your first React app using Create React App, a starter template for new projects.
Step 1: Open a Folder for Projects
In VS Code, go to File → Open Folder.
Create a folder named ReactProjects.
Open this folder in VS Code.
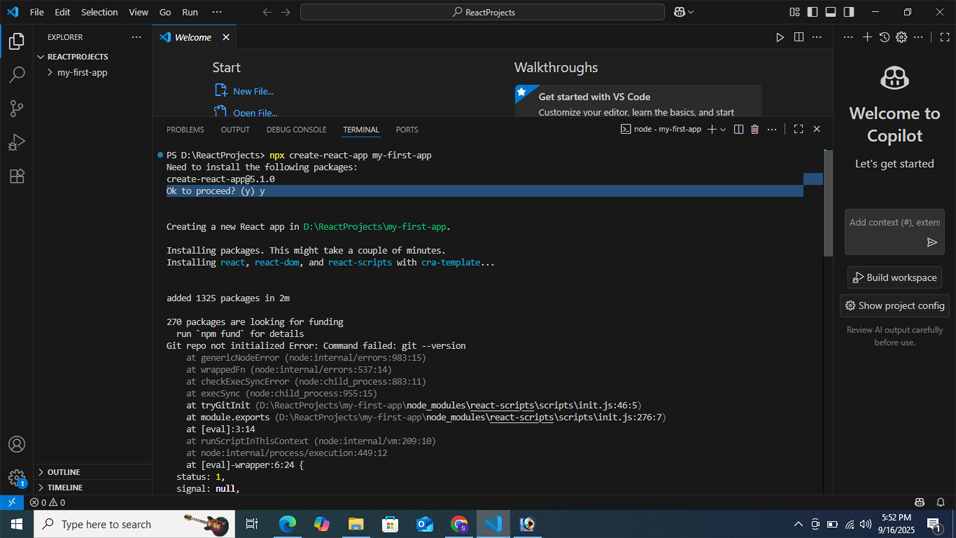
Step 2: Create a React App
In the terminal, run:
npx create-react-app my-first-app
npx runs a package without installing it globally.
my-first-app is the name of your project.
This command will:
Download necessary files.
Set up the project structure automatically.
Install all required dependencies.
Note: This may take several minutes.
Step 3: Navigate to Your Project Folder
cd my-first-app
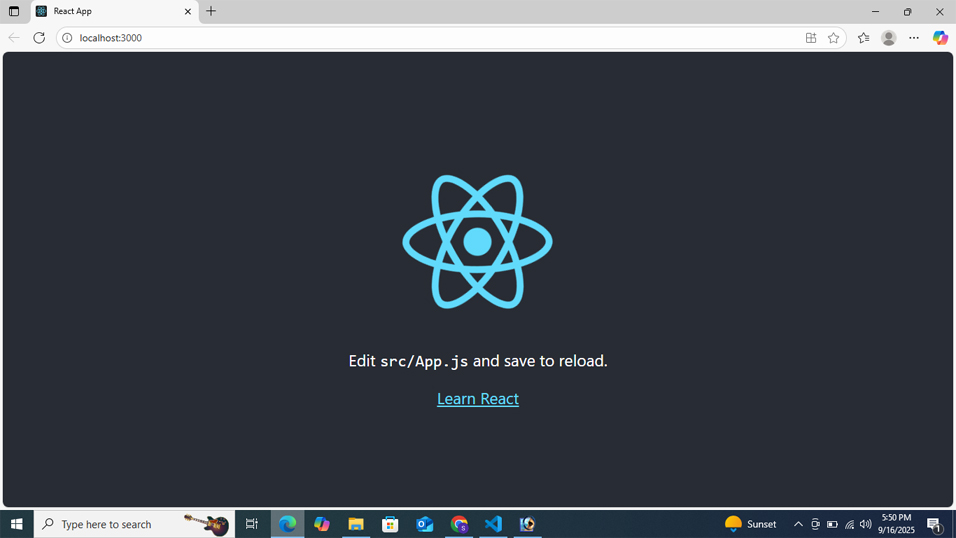
Step 4: Start the Development Server
npm start
Your browser will open automatically at:
http://localhost:3000
You’ll see the default React welcome screen with the spinning logo.
5. Understand the Project Structure
Here’s what the default project folder looks like:
my-first-app/
│
├── node_modules/ # Installed dependencies
├── public/ # Static files (like index.html)
│ └── index.html
├── src/ # Main source code folder
│ ├── App.js # Main React component
│ ├── index.js # Entry point for the app
│ └── App.css # Styles for the App component
├── package.json # Project configuration and dependencies
└── README.md # Project instructions
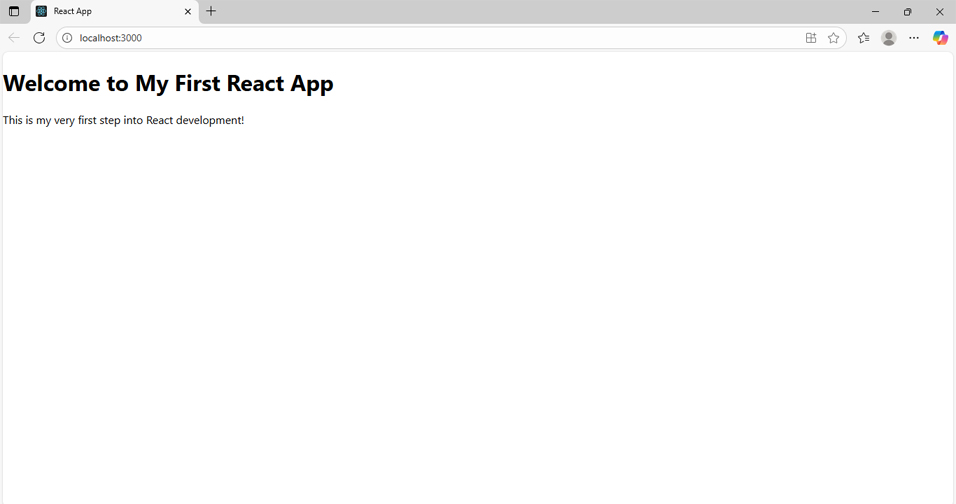
6. Make Your First Code Change
Let’s edit the default code to see React in action.
Open src/App.js.
Replace the existing code with this:
function App() {
return (
<div>
<h1>Welcome to My First React App</h1>
<p>This is my very first step into React development!</p>
</div>
);
}
export default App;
Save the file.
Your browser will update automatically to reflect the change.